
 by
by How to Choose and Crop a Photo for a Print
The single most common reason a printed photo disappoints is resolution: a file that looked perfectly sharp on a phone screen turns out to be far too small for the print size it was asked to fill. This guide covers how to check before you order, how to crop correctly, and what to do if the photo you love is not print-ready as it stands.
Why this problem catches so many people off guard
Digital cameras and phones have made photography effectively unlimited and free, which paradoxically makes it easier to lose track of which specific file, among thousands, has the resolution needed for a specific print. A photo saved from a group chat, downloaded from social media, or forwarded through several apps has typically been compressed multiple times along the way, each time by a different service optimising for smaller file sizes rather than eventual print quality. The result is that people are often working from a badly compressed copy without realising a much better original exists somewhere in their own photo library.
Checking resolution before you order
Every digital photo has a fixed number of pixels, its width and height in pixel dimensions, which you can usually check in your phone's photo app or your computer's file properties. To check whether it will print sharply at a given size, divide the pixel width by the intended print width in inches; the result is the image's effective DPI (dots per inch) at that size. A widely used target for a sharp result is 300 DPI: a photo that is 3600 pixels wide, for example, will print sharply at 12 inches wide (3600 divided by 12 equals 300), but will look soft or pixelated if stretched to fill a 24-inch-wide print (3600 divided by 24 equals only 150).
Screens mislead people here because they display images at a much lower effective resolution than print requires for the same physical size; a photo that looks crisp on a 6-inch phone screen can be well below the pixel count needed for a 16-inch print at the same apparent sharpness.
Matching the aspect ratio to your frame
Aspect ratio, the proportion between an image's width and height, needs to match your intended print or frame, or the print service will crop it for you, sometimes in a way that cuts off something you wanted included. Common ratios include 4:3 (a typical older photo or screen ratio), 3:2 (typical for DSLR and many phone cameras), 1:1 (square), and 3:4 (portrait orientation, common for posters and many standard frames).
Before ordering, crop your photo yourself to the exact ratio of your intended print size, so you control what stays in frame rather than leaving it to an automated crop. Most phone photo apps and free editing tools include a crop function with common preset ratios built in.

Common print problems and their fixes
The photo looks blurry when enlarged. This is almost always a resolution problem: the file simply does not have enough pixels for the size you are printing. The only real fixes are choosing a smaller print size that matches the resolution you have, sourcing a higher-resolution original if one exists, such as the original camera file rather than a compressed copy shared over messaging apps, or using an upscaling tool to improve the result somewhat, understanding it will not fully match a genuinely high-resolution original.
Colours look different once printed. Screens and printers use different colour models (RGB for screens, CMYK for most printing), and a photo that looks vivid on screen can print slightly duller or shifted in colour. If colour accuracy matters, ask your print service whether they offer a proof print before committing to a large or expensive final print.
The subject is cropped awkwardly. This happens when the aspect ratio was not set correctly before ordering, letting the print service's automated system decide the crop. Always crop to your intended ratio yourself before uploading.
The file was shared through a messaging app and lost quality. Many messaging apps compress photos significantly before sending, discarding resolution in the process. Always source the original file, from a camera roll or cloud backup, rather than a copy that has been sent through text or chat.
Sourcing a higher-resolution original
If the version of a photo you have access to is not high enough resolution, check whether an original exists elsewhere: a cloud photo backup often retains the full-resolution original even if a shared or downloaded copy was compressed. Camera apps and dedicated cameras generally produce far higher resolution files than what typically gets shared over messaging apps, so tracking down the original source file is usually worth the effort before resorting to upscaling.
A quick reference: pixels needed by print size
| Print size | Minimum pixel dimensions for 300 DPI |
|---|---|
| 4×6 in | 1200 × 1800 |
| 8×10 in | 2400 × 3000 |
| 12×16 in | 3600 × 4800 |
| 18×24 in | 5400 × 7200 |
| 24×36 in | 7200 × 10800 |
Use this table as a quick check against your photo's actual pixel dimensions before ordering a print at any of these common sizes. If your file falls short of the target for your intended size, either choose a smaller print size that matches what you have, or plan to accept some quality trade-off through upscaling.
Tools for checking resolution
On a phone, most photo apps show pixel dimensions somewhere in the image's details or info panel; on a computer, right-clicking an image file and viewing its properties or opening it in any basic image viewer typically displays the same information. Several free online tools also let you upload a photo and instantly see its pixel dimensions alongside a DPI calculator for a given print size, useful if you want to skip the manual division described above.
When professional scanning helps
For an old physical photograph with no digital original, a professional scan at a high resolution setting, typically available at photo labs and some print shops, produces a far better source file than a phone photo of the printed photo, which compounds quality loss on top of whatever the original print already lost over time. If a physical photo genuinely matters, a proper scan is worth the modest cost before you attempt any print or reproduction from it.
Why a rendered file avoids this problem entirely
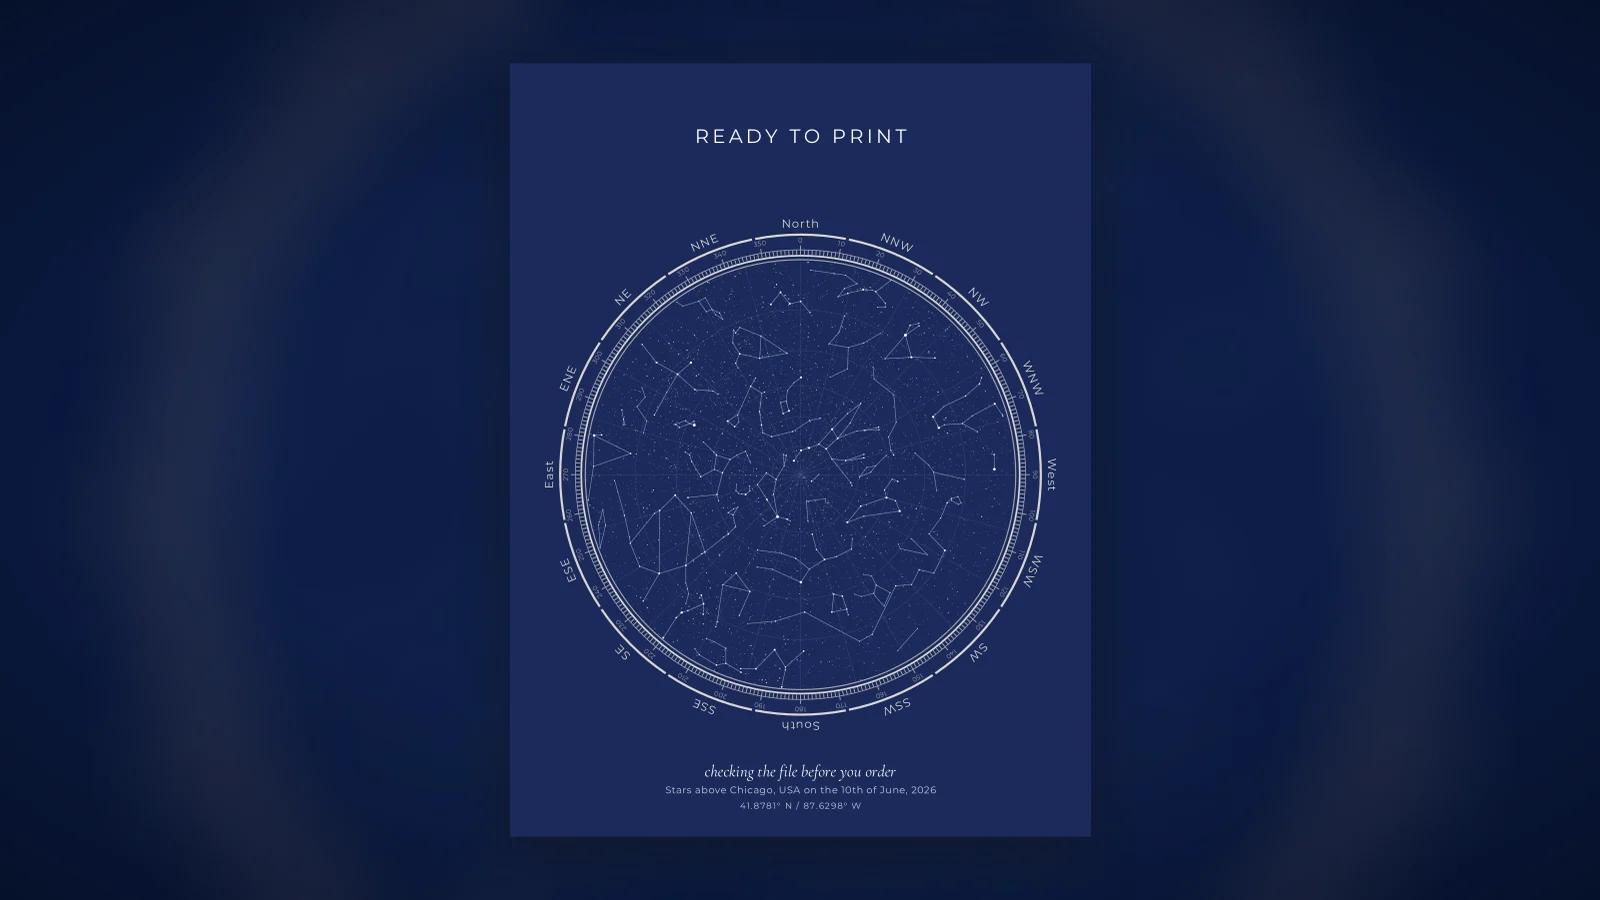
A photograph is captured once, at a fixed resolution, and any print size beyond what that resolution supports involves some compromise. A rendered design, like a custom star map, works differently: it is generated as vector artwork and rasterised natively at the exact resolution each print size requires, rather than photographed once and then stretched. This is why our digital files are produced separately for each of the three standard sizes rather than one file scaled up or down; each is rendered at full 300 DPI for its specific dimensions, so there is no resolution shortfall to manage.
If you are choosing between a printed photo and a personalised design for a gift, this is one practical advantage worth knowing: the designer produces a file that is print-ready at whichever size you choose, in any of our fourteen designs, without any of the resolution checking covered above. Our accuracy page explains how each size is rendered natively rather than scaled. Once you have a print-ready file, our companion guides on where to print it and how to frame it cover the next two steps.
Frequently asked questions
How do I know if a photo has enough resolution to print?
Check the image's pixel dimensions and divide by your intended print size in inches; the result should be at least 300 for a sharp result, sometimes called 300 DPI. A photo that is 3600 by 4800 pixels, for instance, divides out to 300 DPI at 12 by 16 inches, the standard target for a sharp print at that size.
Why does my printed photo look blurry even though it looks fine on my phone?
Phone and computer screens display images at a much lower effective resolution than a printed page needs for the same physical size, so a photo that looks sharp on a 6-inch screen can look soft or pixelated once enlarged to a 16-inch print. Always check pixel dimensions against your intended print size rather than trusting how it looks on screen.
What aspect ratio should I crop my photo to before printing?
Match your intended frame or print size: 4:3 for a standard photo print, 3:4 for many poster and portrait-orientation frames, or 1:1 for a square print. Cropping to the wrong ratio before ordering avoids the print service cropping it for you in a way you might not choose.
Can I upscale a low-resolution photo to print it larger?
Software can upscale an image, and modern AI-based upscalers do a reasonable job of smoothing the result, but upscaling adds detail that was not in the original photo rather than recovering detail that was lost; it improves the look of a low-resolution image somewhat but does not match the sharpness of a genuinely high-resolution original.
Why is a custom star map file always print-ready without this problem?
Because it is rendered as vector artwork at the exact target size and resolution rather than a photograph enlarged after the fact; the file is generated natively at 300 DPI for each print size, so there is no upscaling or resolution loss to worry about, unlike a photo taken at one size and stretched to fit another.